


Setting up lab environments manually is time-consuming, and I wanted a way to spin up my test labs faster. That’s when I decided to automate my FortiGate VM deployment using Ansible.
When we start talking about network automation, the first things that come to mind are configuration templates, network state validation, and automated troubleshooting. However, automation goes beyond just managing configurations, it can also be used to streamline infrastructure deployment.
In this post, I'll walk through the process of automating the deployment of a FortiGate VM on Proxmox using Ansible, covering everything from inventory setup to playbook execution.
By the end, you'll have a fully automated workflow that provisions a FortiGate VM, applies initial configurations, and sets the foundation for further automation.
Before we get into it, here are some standard call outs:
Do not run this in production without testing in a controlled environment first.
This is a very quick and dirty playbook to achieve what I needed. As time goes on this will get refined to meet “best practice” and better security!
Lab Setup
For my lab, I'm using:
A Proxmox node for virtualisation
Ansible for automation
A FortiGate evaluation license (note: the evaluation license has a bandwidth limitation)
With that covered, let’s jump in!
Automated deployment of a FortiGateVM
There was a fair bit of trial and error through the process of building this playbook,, but I am pretty happy with the end result. Here’s a bit of a rundown of the workflow that this playbook achieves:
Automation Workflow
The high-level steps in the automation workflow are:
Prepare the Proxmox environment – Ensure the ISO is available and storage is configured.
Deploy the VM – Create a FortiGate VM instance.
Configure basic settings – Assign interfaces, CPU, RAM, and other settings.
Boot with Cloud-Init - Set a base configuration utilising cloud-init
Getting Started
If you haven’t yet setup Ansible to configure Proxmox, check out my article here on how to get that setup:

Here’s my final directory structure for reference.
create_FortiGate/
├── group_vars
│   └── infrastructure
│       ├── firewalls.yml
│       └── pvenodes
│           ├── my_vault
│           └── pvenodes.yml
├── host_vars
│   └── firewalls
│       └── bttlabfw01.yml
├── inventory.yml
├── pve_create_lab_FortiGate.yml
├── temp
│   └── bttlabfw01
│       ├── cloud-init
│       │   └── openstack
│       │       ├── content
│       │       └── latest
│       │           └── user_data
│       └── fgt-bootstrap.iso
└── templates
    └── FortiGate
        └── initial_config.j2
Inventory File
An Ansible inventory file defines the hosts we’ll manage. In this case the inventory file is very simple.
#inventory.yml
---
#Host Decalaration:
pvenodes:
  hosts:
    pve2:
      ansible_host: 10.1.100.11
firewalls:
  hosts:
    bttlabfw01:
      ansible_host: 172.16.2.10
In the above, I have defined two groups, pvenodes and firewalls and under those groups some hosts. Even though the firewall does not exist yet, I have defined the built-in ansible_host variable in here as I will use this variable to build the IP configuration.
Variables
Group variables (group_vars/) allow us to define common settings for multiple hosts in a structured way. This ensures consistency across deployments and avoids redundant configurations.
In this example, our group_vars/infrastructure/firewalls.yml file might look like this:
#group_vars/infrastructure/firewalls.yml
fg_firewalls:
  vm_details:
    scsi:
      scsi0: local-lvm:32
      scsi1: local-lvm:0,import-from=local:0/fortios7-0-15.qcow2,format=qcow2
    bootdisk: #1
      config: scsi1
    boot: #2
      config: order=scsi1
    scsihw: #3
      config: virtio-scsi-single
    interfaces:
      net0:
        config: virtio,bridge=vmbr0,tag=1001
      net1:
        config: virtio,bridge=vmbr0,tag=1002
      net2:
        config: virtio,bridge=vmbr1
    cores:  1
    cpu: x86-64-#v2-AES
    memory: 2048
If you need a refresher on variables, check out the ansible documentation
Using Variables — Ansible Community Documentation
For this play, I defined some group level variables, and defined my “standard” for the VM itself. It’s here that I define the disk size, the OS image ( in this case, I am using FortiOS 7.0.15), memory and network interfaces.
Note: I haven’t automated the OS image because this is not changing very often in my lab. Maybe eventually I’ll automate this piece.
The VM details here are specific to the Proxmox Ansible Module. I could have really broken down the variables and reference them all separately but I felt that was overkill for this. So you will notice that on the network interfaces for example, the interface type, bridge and tag are just a string that will get passed to the Proxmox module.
This is a bare minimum VM, you will need to beef up the resources if you want to do some heavier things with this.
My VM will have three Network Interfaces:
net0 is management
net1 is my Internet facing interface.
net2 is the LAN bridge to the switch.
Host Variables
I am using the host variables to include the configuration variables of the firewall, think hostname, IP addresses, and DNS. Now you could argue that DNS and configuration like that should belong in the group variables because they would be more universal to the environment, and I would agree, but the my lab purposes and the sake of having some host variables, I have included DNS at this level.
#host_vars/firewalls/bttlabfw01.yml
---
hostname: "{{ inventory_hostname }}"
mgmt_port: port1
mgmt_ip: "{{ ansible_host }}"
mgmt_mask: 255.255.255.0
mgmt_gateway: 172.16.2.1
dns_server_1: 1.1.1.2
dns_server_2: 8.8.8.8
Notice the hostname is set to inventory_hostname and the management IP is set to ansible_host. This means that It will use the details set in my inventory for the configuration. So where do these variables get used?
Enter the Jinja2 Template!
config system interface
    edit {{ mgmt_port }}
    set mode static
    set ip {{ mgmt_ip }} {{mgmt_mask }}
    set allowaccess http https ssh ping telnet
next
end
config system dns
    set primary {{dns_server_1}}
    unset secondary
end
config system global
    set hostname {{ hostname }}
end
{# Default Route #}
config router static
    edit 1
        set gateway {{mgmt_gateway}}
        set device {{mgmt_port}}
    next
end
If you have ever used the FortiGate CLI, this should look familiar. When the playbook is run, this template gets rendered using the variables defined in the host and group vars files and we have a very basic FortiGate config.
I have kept it simple for now, the idea being that this gets the VM to a point where we can hit the WebUI to build a configuration or automate further configuration once the VM is accessible on the management IP.
So now that I have all the variables and templates defined, let’s have a look at the playbook.
Playbook
The Ansible playbook automates the deployment and configuration of the FortiGate VM. Below is an overview of key tasks and their purposes, but to keep things simple, every task is defined in a single playbook, I will probably split this into roles that I can then use across different playbooks, but not yet.
Here is a overview of the workflow the playbook runs through:
Ensure the required Cloud-Init Directory structure was present in my local directory, and if not then it gets created.
Generate the Cloud-Init user data based on the Jinja2 template
Create the ISO image using the generated Cloud-Init Directory ( explain that license key is added in the content folder but we are just using the eval image for this.
Transfer the ISO over to the Proxmox node ( local storage in my case)
Use the Proxmox API to add the ISO image to the Proxmox Library.
Build the new VM using variables defined in group vars and load the ISO.
Check the VM has been created
Start the VM!
Step 1 - Define Hosts and Variable Files
In the playbook, I have set the target hosts to be the firewalls group defined in the inventory firewall. while the tasks themselves do not run on this device, it allows me to use the inventory structure to load the variables. I delegate tasks to the required machines as some of the tasks are done on localhost, and others on the Proxmox Node itself.
The after the host declaration, I have explicitly told the playbook where to find the variable files for these tasks, and notice that the host variables are defined using the inventory_hostname variable to dynamically collect the right host_vars filename.
#create_FortiGate_vm.yml
---
- hosts: firewalls
  gather_facts: false
  vars_files:
    - group_vars/infrastructure/firewalls.yml
    - group_vars/infrastructure/pvenodes/pvenodes.yml
    - host_vars/firewalls/{{ inventory_hostname }}.yml
So once the variable files and hosts are all defined, it’s time for this thing to actually do something.
There are a few tasks to this playbook, starting with creating a right directory structure for my cloud-init ISO image.
Step 2 - Setup Cloud-Init
FortiGate requires the cloud-init files to be a very specific directory structure, so the first few tasks are to create this structure inside the local directory. You could choose to delegate these tasks to another Linux host, but I decided to keep it local.
See this KB from Fortinet that shows the structure:
Cloud-init | KVM Administration Guide
So the tasks below do a few things:
Creates a content directory,
Creates directory called latest,
Generates the User_Data file from the Jinja2 template and the variables and stores this in the latest directory.
Creates an ISO file (fgt-bootstrap.iso) locally and stores in a temp folder
tasks:
    - name: Ensure correct cloud-init directory structure is present - content
      ansible.builtin.file:
        path: temp/{{ inventory_hostname }}/cloud-init/openstack/content/
        state: directory
      delegate_to: localhost

    - name: Ensure correct cloud-init directory structure is present - latest
      ansible.builtin.file:
        path: temp/{{ inventory_hostname }}/cloud-init/openstack/latest/
        state: directory
      delegate_to: localhost

    - name: Create Cloud-Init user_data using template
      template:
        src: templates/FortiGate/initial_config.j2
        dest: temp/{{ inventory_hostname }}/cloud-init/openstack/latest/user_data
        force: yes
      delegate_to: localhost

    - name: Create iso image and store locally
      ansible.builtin.command: mkisofs -R -r -o temp/{{ inventory_hostname }}/fgt-bootstrap.iso temp/{{ inventory_hostname }}/cloud-init/
      delegate_to: localhost
Now we have the ISO folder, we can transfer it to our Proxmox node. I have just used the built-in copy module to do this.
Note: I have set force to true, this makes sure that the file is overwritten in the event the ISO already exists.
- name: Create Directory /temp/{{ inventory_hostname }}/ on pve node
      file:
        path: temp/{{ inventory_hostname }}/
        mode: 0755
        state: directory
      delegate_to: pve2

    - name: Transfer Cloud-Init File to Proxmox Node
      ansible.builtin.copy:
        src: temp/{{ inventory_hostname }}/fgt-bootstrap.iso
        dest: temp/{{ inventory_hostname }}/
        force: true
      delegate_to: pve2
The ISO file is now in a temporary folder on the Proxmox node, the final step with the ISO file is to have Proxmox load the file into it’s library of ISO images, so that the VM can reference it.
    - name: Create ISO Template in Proxmox
      community.general.proxmox_template:
        api_user: "{{ ansible_api_user }}"
        api_token_id: "{{ ansible_api_token_id }}"
        api_token_secret: "{{ ansible_api_token_secret }}"
        api_host: "{{ lab_host }}"
        node: "{{ lab_host }}"
        src: temp/{{ inventory_hostname }}/fgt-bootstrap.iso
        content_type: "iso"
        state: "present"
        force: "true"
      delegate_to: pve2
Step 3 - Create the VM
Now it’s time to create the VM, using the Proxmox_kvm module you can use the API to build the VM using the variables Ansible has loaded from our group_vars file.
A couple of things to note in this task:
I am looping over fg_firewalls which is the root of the group_vars file, this loop is over the variables, not to loop over the firewall hosts, this is done by the hosts declaration at the top of the playbook.
Note though that this playbook currently will only deploy a single VM, I am working on adding the logic to deploy multiple VMs in sequence.
I then sleep for 1 min to give the system time to finish the deployment.
Then check the state of the VM is present, and print for clarification.
- name: Create New FGVM
      vars:
        ansible_python_interpreter: /usr/bin/python3
      proxmox_kvm:
        api_user: "{{ ansible_api_user }}"
        api_token_id: "{{ ansible_api_token_id }}"
        api_token_secret: "{{ ansible_api_token_secret }}"
        api_host: "{{ lab_host }}"
        node: "{{ lab_host }}"
        name: "{{ inventory_hostname }}"
        scsi:
          scsi0: "{{ item.value['scsi']['scsi0'] }}"
          scsi1: "{{ item.value['scsi']['scsi1'] }}"
        bootdisk: "{{ item.value['bootdisk']['config'] }}"
        boot: "{{ item.value['boot']['config'] }}"
        scsihw: "{{ item.value['scsihw']['config'] }}"
        net:
          net0: "{{ item.value['interfaces']['net0']['config'] }}"
          net1: "{{ item.value['interfaces']['net1']['config'] }}"
          net2: "{{ item.value['interfaces']['net2']['config'] }}"
        cores: "{{ item.value['cores'] }}"
        cpu: "{{ item.value['cpu'] }}"
        memory: "{{ item.value['memory'] }}"
        ide:
          ide2: 'local:iso/fgt-bootstrap.iso'
      with_dict: "{{ fg_firewalls }}"
      loop_control:
        pause: 20
      delegate_to: pve2

    - name: Sleep for 60 seconds and continue with play
      ansible.builtin.wait_for:
        timeout: 60
      delegate_to: localhost

    - name: Get VM current state
      proxmox_kvm:
        api_user: pve-ansible-1@pam
        api_token_id: "pve-ansible-1-token"
        api_token_secret: "{{ ansible_api_token_secret }}"
        api_host: "{{ lab_host }}"
        name: "{{ inventory_hostname }}"
        state: current
      delegate_to: pve2
      register: state

    - name: Print State
      debug:
        var: "state is {{ state }}"
Step 4 - Boot the VM
The final Step is to boot the VM and give it a few minutes before logging in!
    - name: Start VM
      proxmox_kvm:
        api_user: pve-ansible-1@pam
        api_token_id: "pve-ansible-1-token"
        api_token_secret: "{{ ansible_api_token_secret }}"
        api_host: "{{ lab_host }}"
        name: "{{ inventory_hostname }}"
        state: started
      delegate_to: pve2
      register: state

    - name: Print State
      debug:
        var: "state is {{ state }}"
Run your playbook!
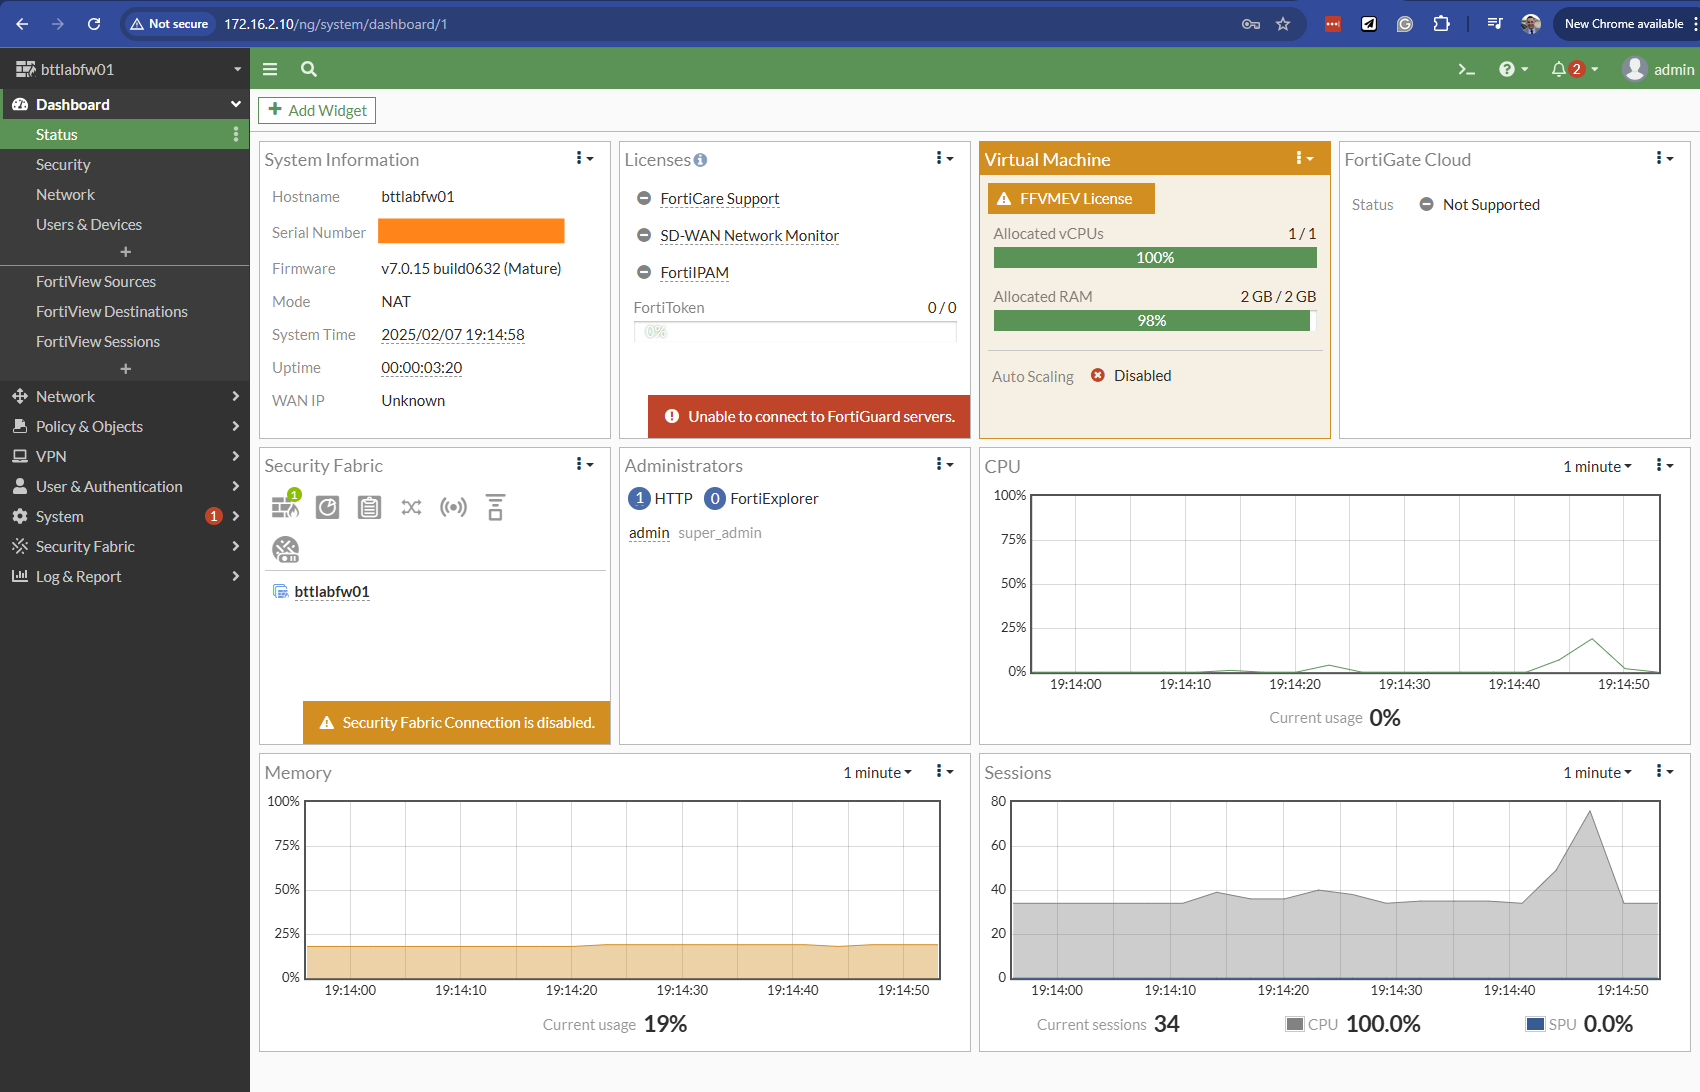
ansible-playbook pve_create_lab_fortigate.yml -i inventory.yml --user=<your proxmox user> --private-key <path_to_ssh_key>Give it a few minutes to boot up, load the cloud-init file and you should be able to see a WebUI at the IP address you put in your inventory file! Login with admin and no password, set the new password and get configuring!
This automation workflow is just the start. With Ansible, we can extend this setup to include automated OS updates, backup management, and full configuration enforcement.
In future posts, I’ll explore how to integrate FortiGate APIs for dynamic policy updates and automate firewall rules using infrastructure-as-code. Let me know if you're interested in a deeper dive!
I hope you have found this fun to run through and good luck with your Ansible journey!